Step 1: Download Ryujinx for Windows
Select the version that meets your needs:
Official Build (v1.1.1403)
The final stable release from the original developers includes all core features and multiplayer support.
GreenDev Fork (v1.2.86) is a community-maintained version with ongoing tweaks and updates following the official project’s pause.
Step 2: Placing the prod.keys File
Before Ryujinx can load any Nintendo Switch games, it needs a file called prod.keys. This file contains encryption keys that must be extracted from your personal Nintendo Switch console. These are required for the launch and installation of games and firmware.
Follow the steps below to properly place the keys:
1. Extract and Open Ryujinx
- After downloading Ryujinx, extract all files into a folder of your choice.
- Extracting to protected locations, such as your Desktop or C:\root, may result in file permissions issues.
Example destination: C:\Emulators\Ryujinx\
- Inside the extracted folder, open the publish directory if present.
- Double-click Ryujinx.exe to launch the emulator for the first time.

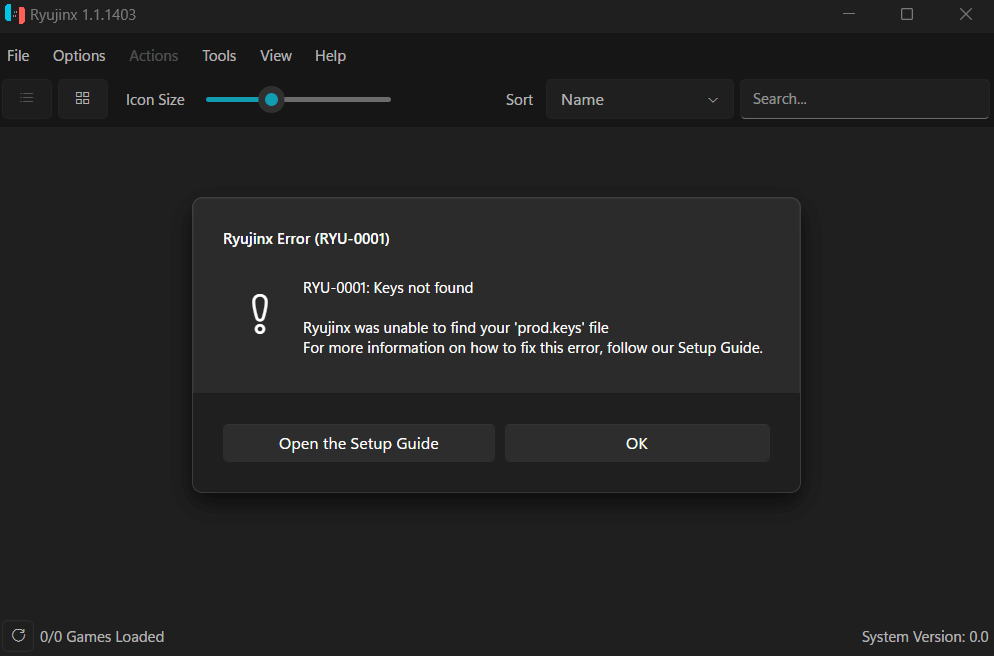
2. Initial Warning Message
- When Ryujinx starts, you may receive a warning message (most likely due to missing keys).
- This is normal for the first launch. Simply click OK to continue.
3. Auto-Creation of Configuration Folders
Ryujinx automatically generates the required folders in
- This includes directories containing firmware, logs, shader caches, saves, and other permanent configuration files.
If you want Ryujinx to store all files in one folder (rather than %appdata%), create an empty file called portable.txt inside the Ryujinx root folder before running it for the first time. This enables the portable mode.
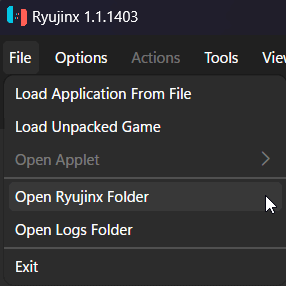
Open the Ryujinx Folder
- In the Ryujinx window, go to the top menu and click File > Open Ryujinx Folder.
- A File Explorer window will open, pointing to %appdata%\Ryujinx.
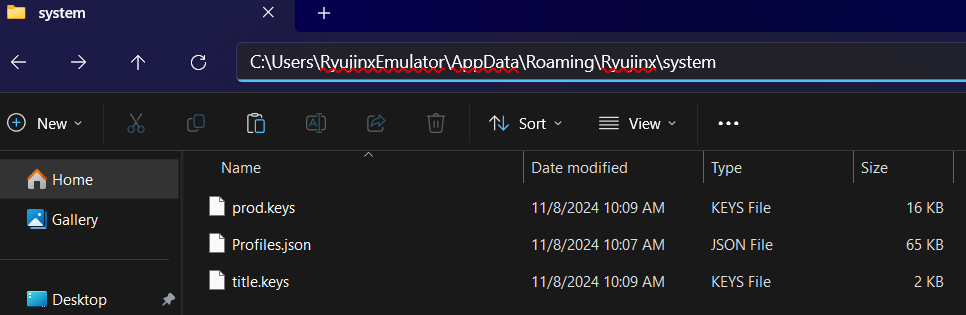
5. Place the prod.keys
Within the opened Ryujinx folder, go to the system subfolder:
perl
CopyEdit
%appdata%\Ryujinx\system\
- Paste your prod.keys file here. The structure should now look like:
C:\Users\YourUsername\AppData\Roaming\Ryujinx\system\prod.keys
6. Relaunch the Emulator
- Completely shut down Ryujinx.
- Open it again by running Ryujinx.exe.
- If there is no warning about missing keys, your setup was successful.
You have now completed the key installation process..
Step 3: Installing Nintendo Switch Firmware
Once your keys are in place, it is time to install the firmware. This enhances system functionality while also improving compatibility with the majority of Switch games.
1. Prepare Your Firmware
You will need either:
- A firmware ZIP file you have created from a firmware dump or
- A non-trimmed.XCI game cartridge dump that includes embedded firmware.
Do not use trimmed XCI files because they lack the necessary firmware data.
2. Launch Ryujinx
- Run Ryujinx.exe to get started.
- This time, you should not encounter any key-related warnings. If you do, double-check your prod.keys placement.
If you do, double-check your prod.keys placement.
3. Begin Firmware Installation
- In the emulator window, click: Tools > Firmware > Install from XCI/ZIP.

- A file selection dialogue will appear.
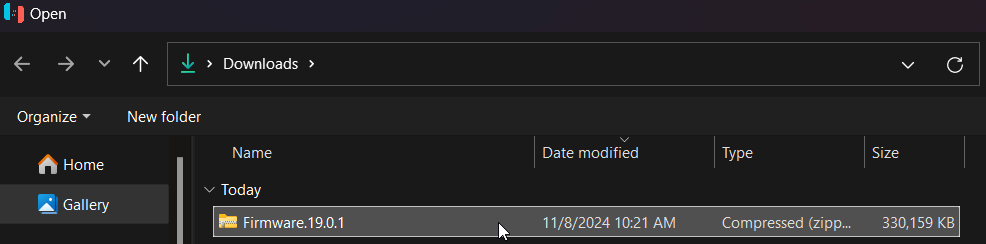
4. Choose Your File
- Navigate to the folder where your XCI or firmware ZIP file is stored.
- Choose the appropriate file and click Open.
5. Confirm the Install
- A confirmation box will appear, asking whether you want to install the firmware.
- To continue, simply click Yes.
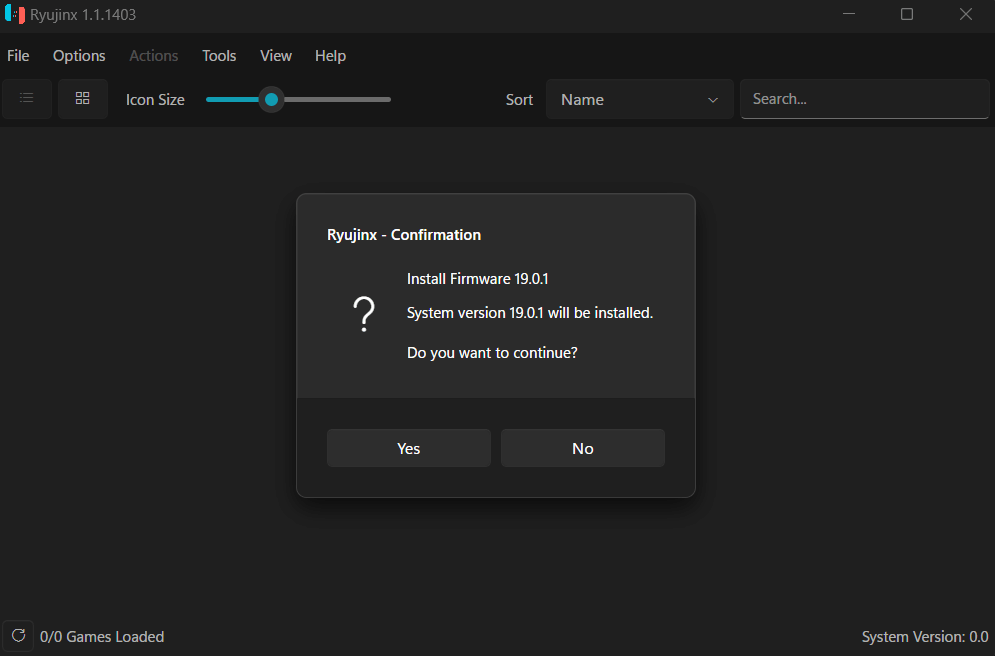
Important: Your prod.keys must support the firmware version you are installing.
6. Wait for the Process to Complete
- Ryujinx will start installing the firmware.
- Once completed, it will display a success message.
- To close the message, click OK.

7. Verify Firmware Installation
- Your current System Version should now be displayed in the bottom-right corner of the Ryujinx main window.

- This confirms that the firmware was properly installed and recognized by the emulator.
You are now ready to add games, set up controls, and begin your Ryujinx journey.